|
|
|
Click
Picture to Enlarge |
 |
 |
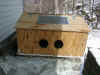
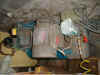
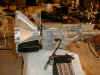
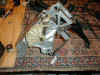
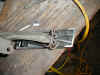
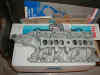
| I built this sandblasting box out
of scrap plywood before I started. |
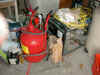
I bought this pressurized sandblaster from harbor
freight for $70. It's great when it works, but its a very temperamental
tool. The trick is to filter all the sand going in and not get
it wet. If you do this it will flow nicely out the tip, if not,
the blaster is useless! |
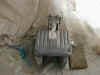
| Hey, it may be
old and dirty, but it works! Too bad its 220V and I can't use it
in the barn. I will probably end up buying a 120V so I can use
it in the barn once I get the kit (I'm too lazy to do rivets by
hand!). |
 |
|
|
BEFORE
|
AFTER
|
|

|
|
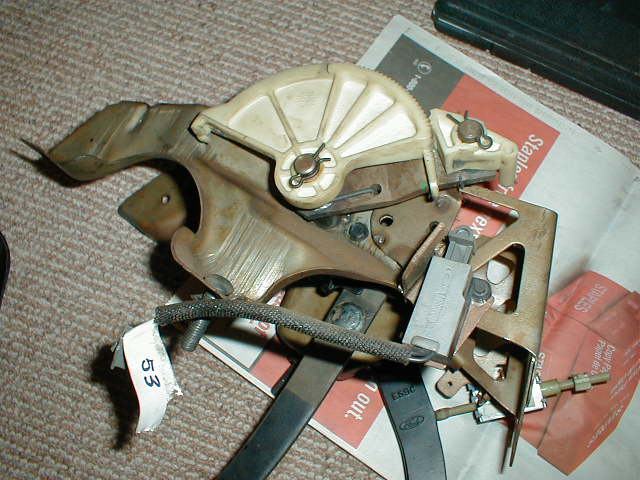
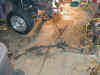
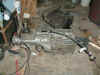
Steering rack covered with grease and dirt. I
sprayed it with degreaser and let it sit overnight. I sprayed that
off. Then I put Kerosene in a spray bottle and started brushing
the rack till I got all the grease and dirt off. Finally, in the
hard to reach spots I used a tiny wire brush.
|
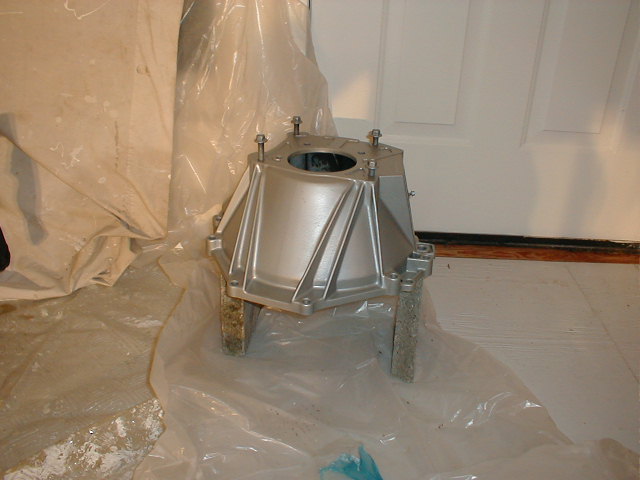
I then taped the rubber and sprayed the center with
cast coat aluminum engine paint from dupli-color. Tie rods were
sprayed black. .
|

|
|
|
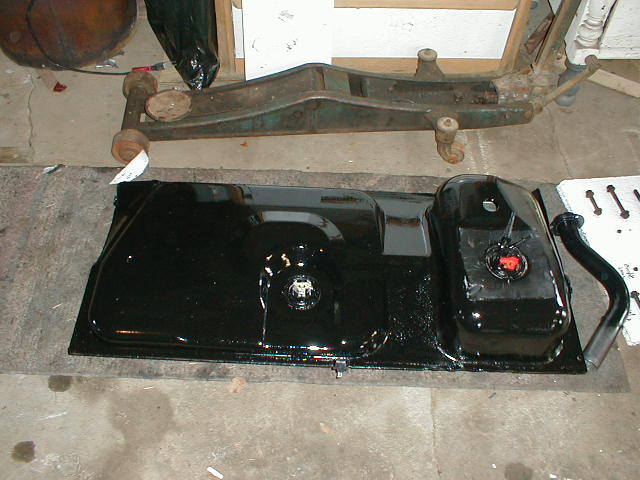
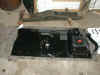
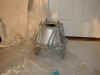
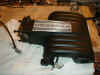
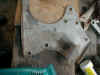
Gas tank in the process of being wire brushed. This
takes a while. I removed most of the rubber pad first. Goof-off
works good for this.
|
Sprayed with metal prep and
then painted with por-15. I actually spray painted the underside
black because the plastic cover protects it from the
elements.
|
|

|
|
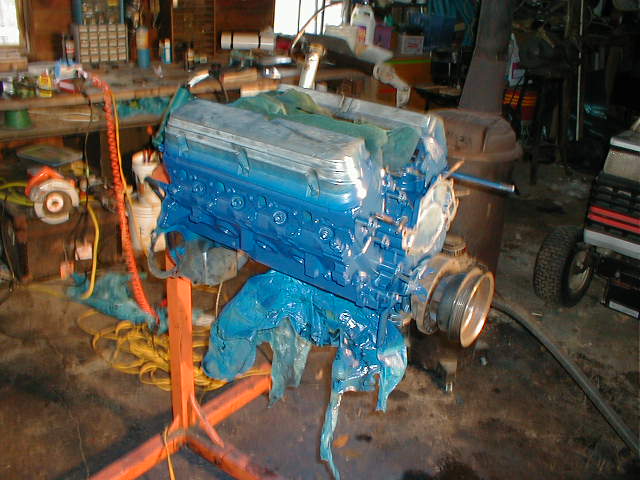
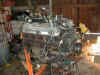
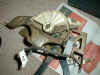
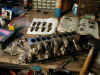
Engine before cleaning.
|
Stripped most of the extras off the engine including the oil
pan. Degreased the bad spots. Wire brushed the whole block (this
took a loooong time). Sprayed it with all sorts of solvents until
it was really clean. Dried it, and sprayed it with Ford Dark Blue
engine paint from dupli-color. Click here
for more engine pics
|
|
|
|
Castrol Superclean (available
at Wal-Mart for $4.50) and a used tooth brush will clean just
about anything! Wash it off with water and let dry.
|
Sprayed with cast coat aluminum
engine paint from dupli-color. Great stuff also available at wal-mart
for like $3.00 a can.
|

|
|
|
same as above
|
same paint
|
|
|
|
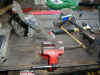
The pedal box was really clean
when i took it out so all i did was wash it with some superclean,
paint rust converter on the rust, and spray it with aluminum
engine paint. Make sure you take pictures when you take it apart
because it will make it much easier when you put it back together
again.
|
same paint
|
|
|
|
same as above
|
Sprayed with Rustoleom black
texture paint. Looks awesome and it better at $4.50 a can! Replicates the black
from the valve
covers and intake plate.
|
|
|
|
Accelerator pedal modification.
Cut the pedal like the manual says and drill a new hole for the
pedal bolt. I used a big cotter pin I found instead of the
original pin which bent when I tried to get it out.
|
Here's the new hole and pin
|
|
|
|
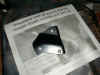
Accessory
bracket marked like diagram in the back of the manual.
|
Drilled with 1/2" drill
bit. After I drilled it I cut the bracket down and painted black.
|
|
|
|
took everything off the lower intake (fuel rail,
cooling pipe, injectors, wiring, etc.) and sandblasted.
|
Painted with cast coat aluminum
engine paint. Replaced the thermo and gasket, and the
crankcase breather filter
|
|
NEXT
|
|
|